Exterior HPL Wall Cladding I HPL Cladding I HPL Exterior Grade Wall Cladding

Menu
How to Install HPLMAKER HPL Sheet
Installing HPLMAKER HPL Sheets is a straightforward process, provided that the right steps and tools are used. Whether you’re applying them to walls, countertops, furniture, or other surfaces, this guide will ensure that your installation is smooth, professional, and long-lasting.
Unmatched Versatility & Style
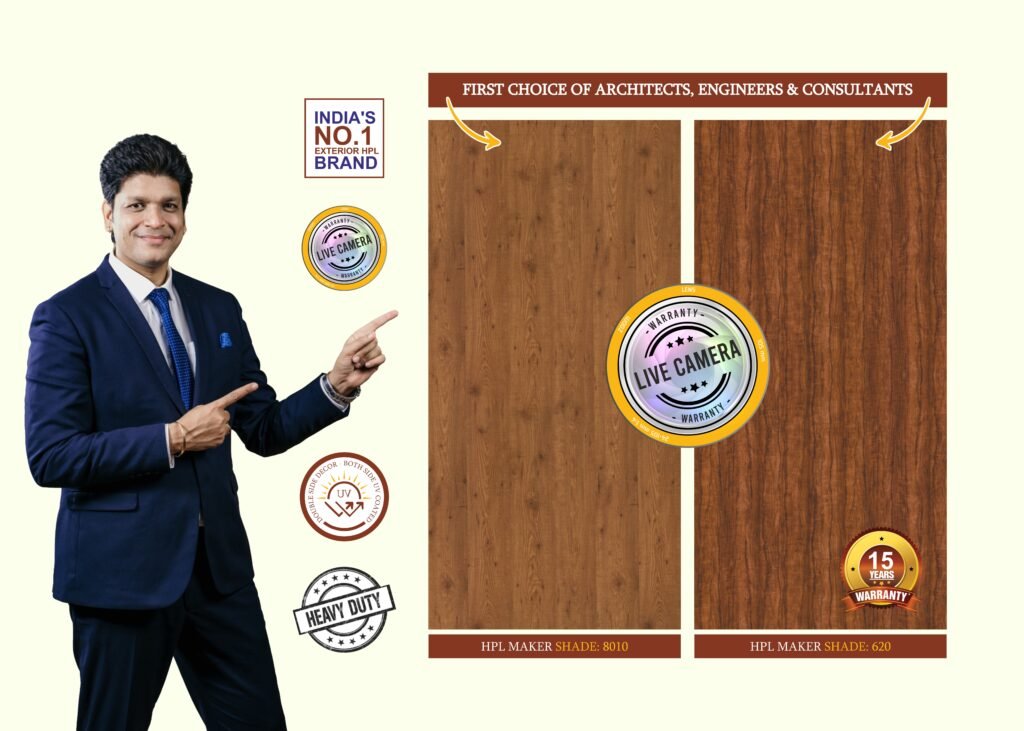
- We are Number 1 HPL seller in South India
- Live Camera Warranty with written certificate
- Complete local support

Ashmon Kumaar
CHAIRMAN & FOUNDER
How to Install HPL MAKER HPL Sheet & Check List
Let’s walk you through the process:
What You’ll Need:
- HPLMAKER HPL Sheets
- Adhesive (recommended: contact adhesive or laminate adhesive)
- Utility Knife or Jigsaw
- Measuring Tape
- Pencil or Marker
- Straight Edge or Ruler
- Clamp (optional, but helpful)
- Sanding Block or File
- Brush or Roller (for adhesive application)
- Safety Gear (gloves, goggles, and mask)
- Screwdriver or Drill (if installing HPL on furniture or cabinets)
Preparation of the Surface
- Clean the Surface: The surface where you will apply the High Pressure Laminate Sheet needs to be clean, dry, and free from dust, grease, or any loose materials. For best results, wipe down with a mild detergent and water solution, then let the surface dry completely.
- the Smooth the Surface: If e is uneven, use a sanding block or file to smooth it out. An even surface ensures that the HPL sheet adheres properly and looks flawless.
Measuring and Cutting the HPL Sheet
- Measure the Area: Measure the dimensions of the area where you will install the HPL sheet. Use a measuring tape and mark the desired area on the sheet with a pencil or marker.
- Cutting the HPL Sheet: For straight cuts, use a utility knife and a straight edge to score the sheet along the marked lines. You can then snap the sheet at the score line for a clean break. For more complex cuts or curves, a jigsaw with a fine-toothed blade works best.
Applying Adhesive
- Choose the Right Adhesive: For best results, use a contact adhesive or laminate adhesive. These types of adhesives provide a strong bond for HPL sheets.
- Apply Adhesive to the Surface: Using a brush or roller, apply a thin, even layer of adhesive to the prepared surface. Be careful not to over-apply; excess adhesive can create bumps and affect adhesion.
- Apply Adhesive to the Back of the HPL Sheet: In addition to the surface, apply adhesive on the back of the HPL sheet. Allow both surfaces to dry for about 10-15 minutes or as per the adhesive manufacturer’s instructions.
Installing the HPL Sheet
- Position the Sheet: Carefully align the HPL sheet with the surface. Once aligned, gently press down the sheet, starting from one edge and working your way across to avoid air bubbles.
- Press Firmly: Use a roller or a flat edge (like a wooden block) to press down the HPL sheet and ensure good adhesion. Apply even pressure to prevent air pockets. If necessary, use clamps to hold the sheet in place while the adhesive sets.
- Trim Excess Material: After the HPL sheet is in place, use a utility knife to trim any excess material from the edges for a neat, clean finish. If the sheet has sharp edges, smooth them with a sanding block.
Finishing Touches
- Sanding the Edges: Once the sheet is fully installed and the adhesive has cured, lightly sand the edges to ensure they are smooth and free from any rough spots.
2. Clean the Surface: Wipe down the installed HPL sheets with a clean cloth to remove any dust or adhesive residue.